Mobile Photography: The Beginning (Step 1)

Aug 24, 2019 • 6 views
Everyone loves to create memories. We all create memories and capture them with us to keep it for the rest of our lives. We humans have evolved in this manner to capture and keep with us the happy moments we enjoyed on a trip, in a party or on a night-out. But, how we do it? We create Instagram short videos, take pictures and also some weird ones of our dear friends. Isn't it?
But you know what? You can always enhance your pictures by doing some small variations which will get your pictures from ordinary to lifetime extraordinary. Trust me, these don't take hours but just a few minutes more than you take for a normal regular picture.
So, basically I'll be telling you how to enhance your creativity in those photos in three parts. And in this we'll be talking about and taking a look at the prerequisites for clicking these breathtaking pictures. So bear with me… I'll give you a kick-start in this field and you'll start loving it as I did.
●SMARTPHONE
Everyone has a smartphone nowadays. And in the past few years the camera quality of these phones have increased so much that we can do almost anything with them. We've wide angle cameras, macro lenses and what not. But you know what, you don't need so much of features right now for starting out as a freelancer. You'll grow and learn it slowly on your own.
So, you have a smartphone and you're ready for the first shot! Let's go guys!
●SUBJECT (Of which the photo is to be taken)
Now once you've a smartphone that takes decent photos (don't worry if they are not decent. I'll tell you how to edit them as well, so bear with me.) Now you gotta find a "subject". What's a subject? It's basically your main object (living or inanimate) of whose pictures you're going to take. He/She/It will be in the focus of your camera lens and will cover around most areas of your photo (It's not true always but for starting we'll keep it as it is.) It can always be anything; like a chair, a building, a pen, humans, animals, insects, birds, etc anything of this world. Just focus and click! That's it. You don't need to search for a subject. Sometimes it's always there in plain sight. You just need to look around everything through your camera. And away you go!
●COMPOSITION (Setting up your surroundings)
Since now you've your camera, your subject. You need to compose your pictures. Composition basically means to make your pictures look aesthetically creative. It should look appealing and should give out a positive impact to the viewers.
Don't worry if you're not getting a proper composition of your photos. Sometimes it will happen that you will create a pre-image of what you're gonna click but it doesn't come out that way and you will feel frustrated. But no worries, there's always a shot better than the previous one. So, keep calm and take not one but many shots of your subject by adjusting before every shot if you find something you need to change after the shot. Then review each of them later when you're back from the trip!!
So, these three things you have to keep in mind to start up your photography hobby anytime. But, stay with me guys, it's just the starting. I have more than enough for you. This one's just the introduction to the ultimate life changing experience for all of you who think they can't take good photos. Trust me, I was one of them. Now I find good in everything I take shots of.
I know, you'll find some shots not good, and worth deleting.
But, guys, guys! There's a very important aspect of photography and that is, "Editing"! Shots you thought are not good can be turned into some breathtaking shots!
Here's the example:
(In frame my sister : Anushka Shukla. Follow her up on Insta ID: @anushka_shukla003)
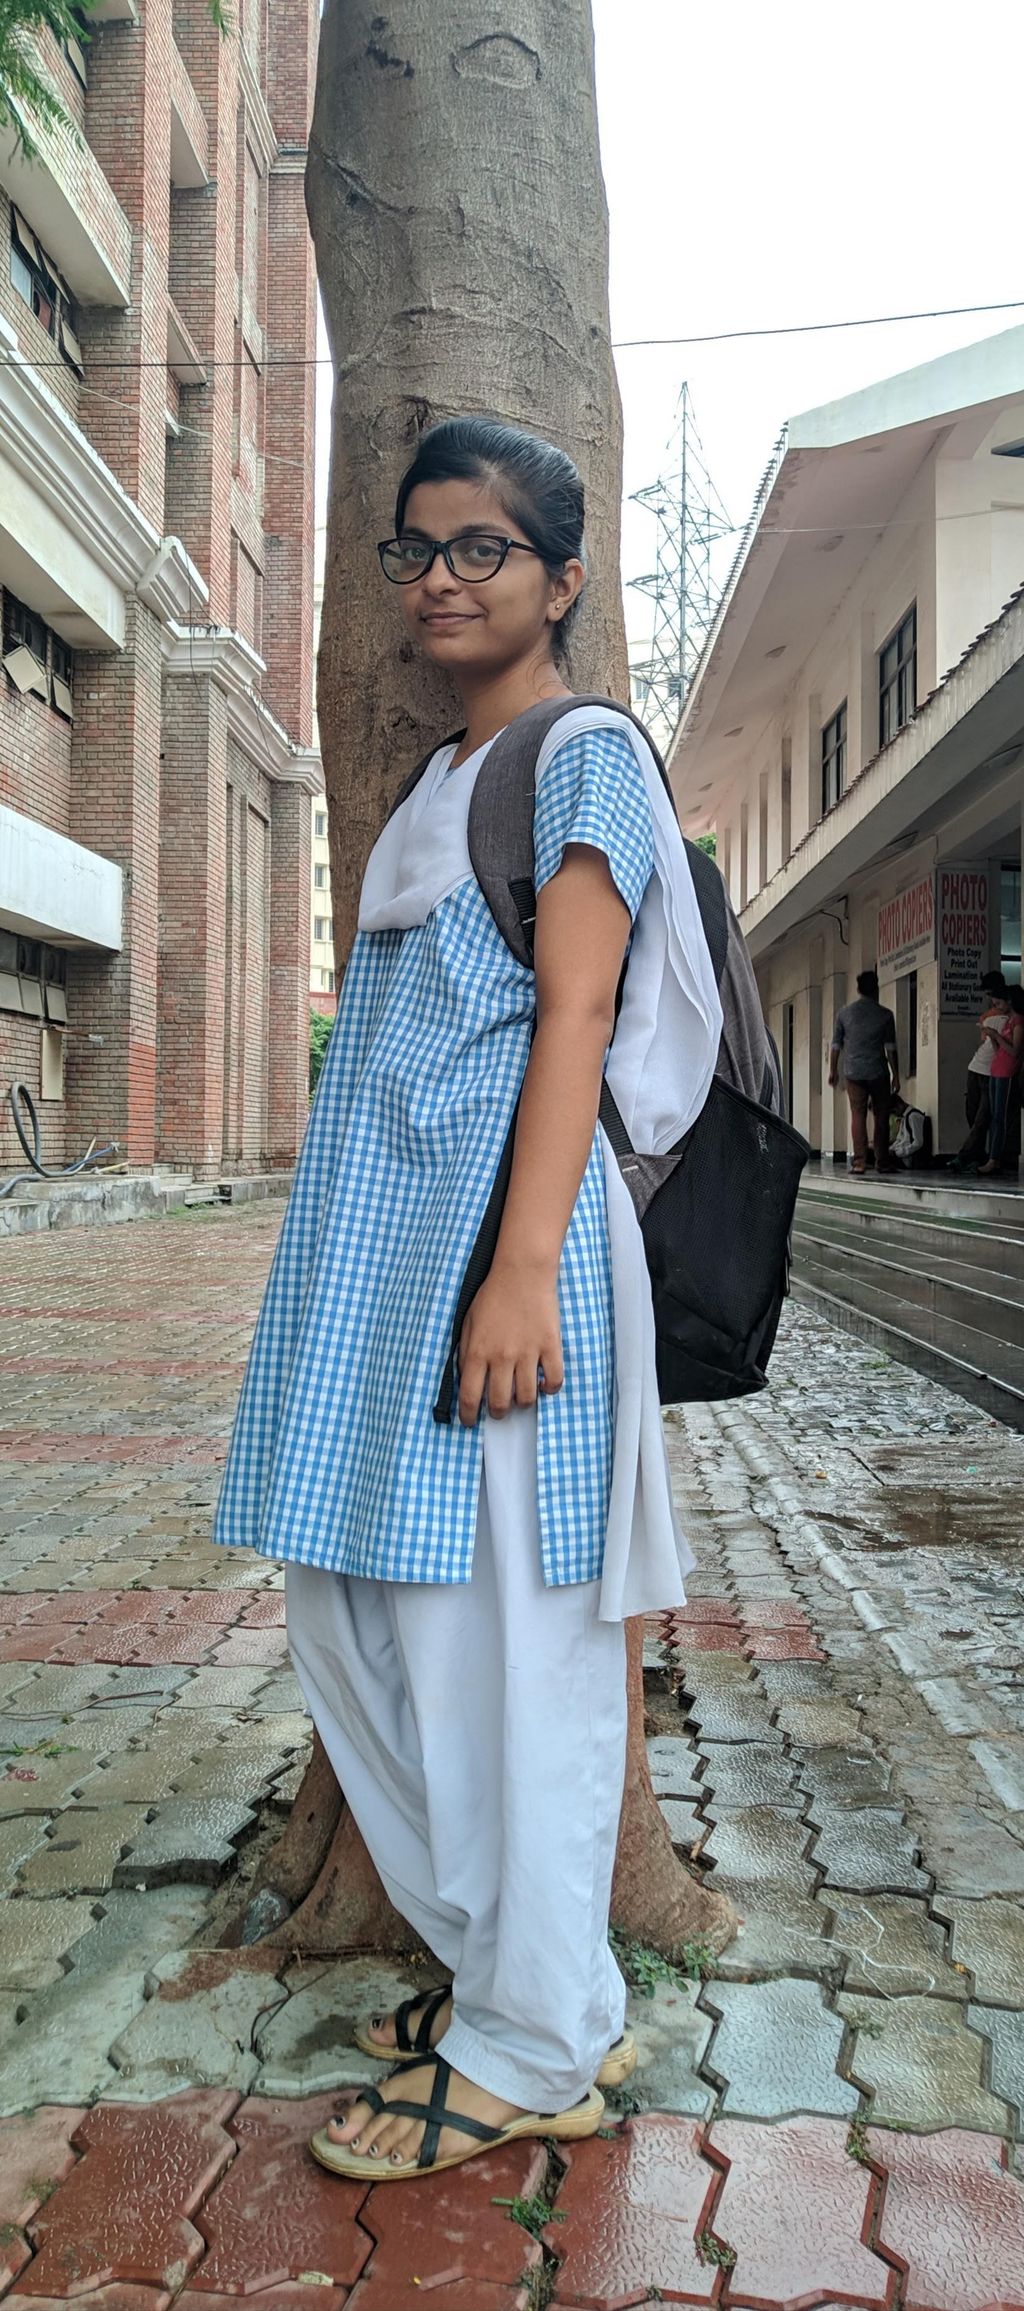
I took this pic and it came out to be washed out(less colored and more white) due to weather. It was an average shot, but I didn't delete it. I went back home and edited it.
This was the resulting edited shot:
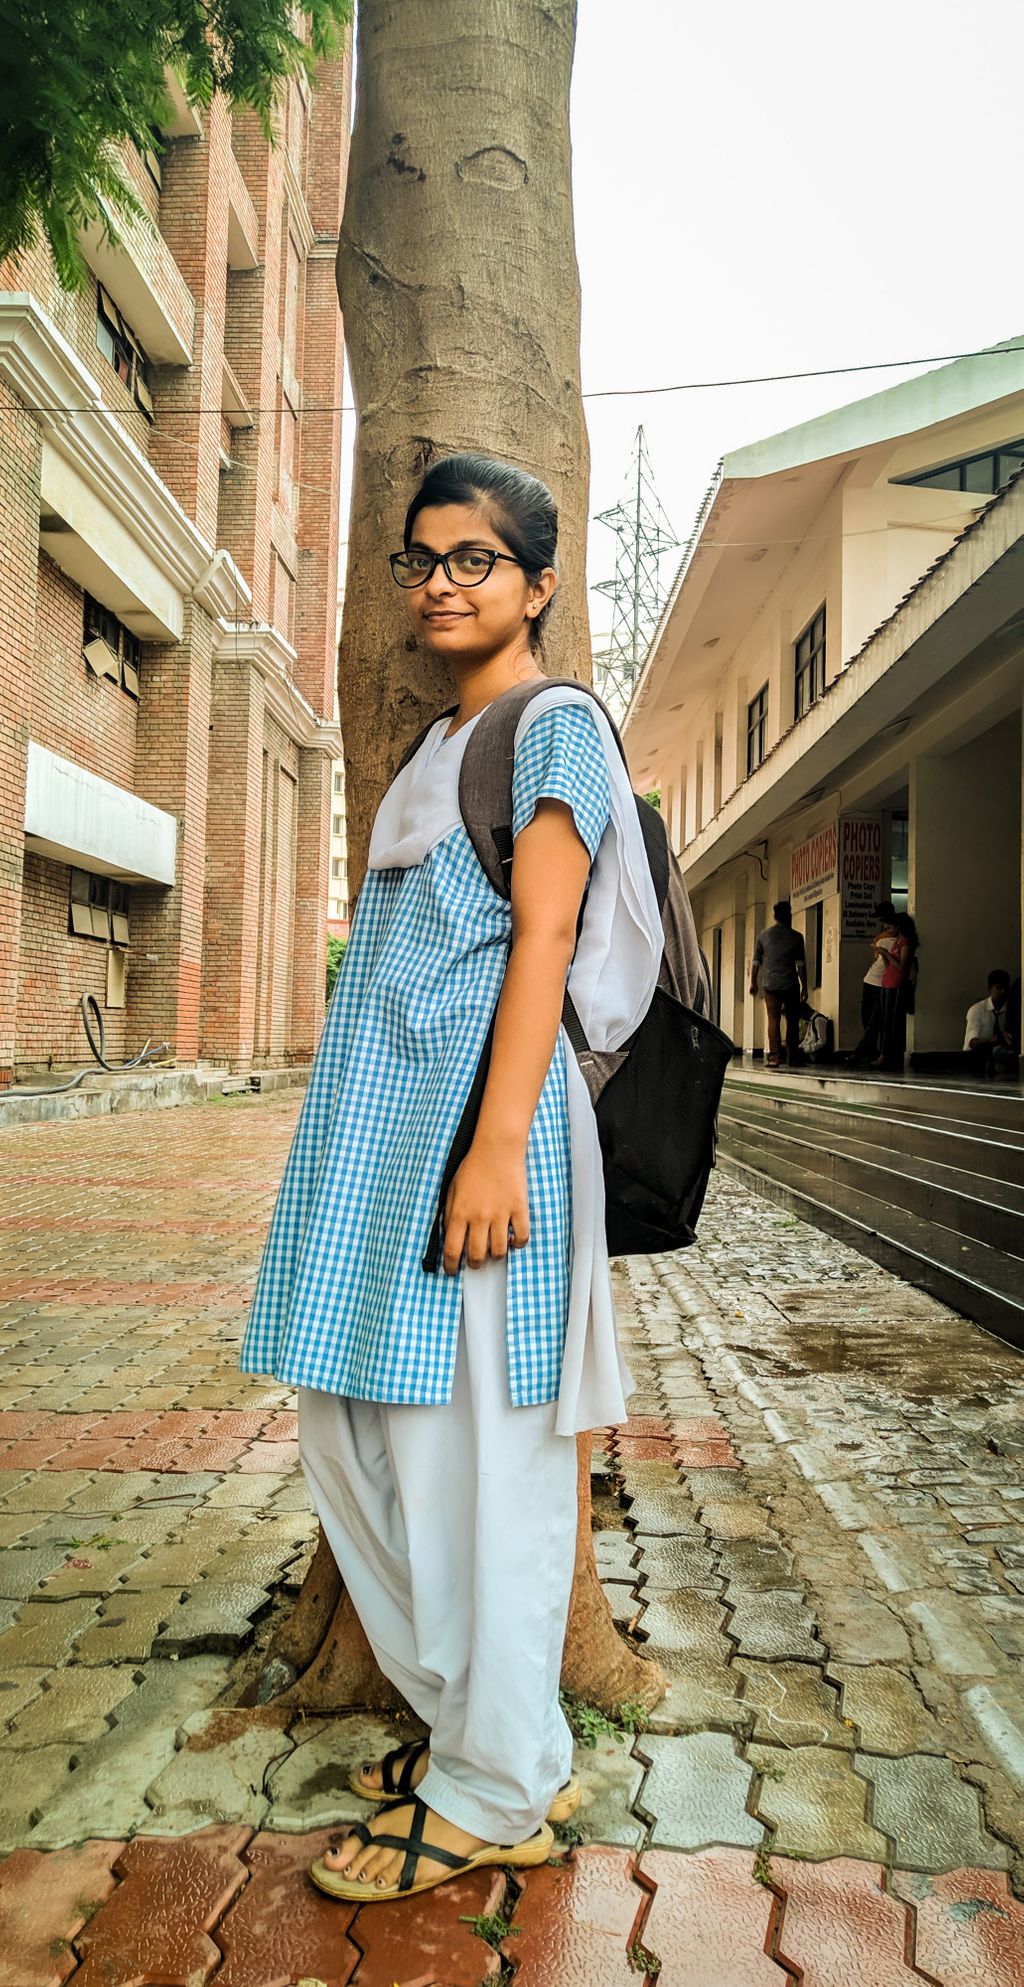
Now, see the difference yourself! How far you can take a picture from the camera to your creativity.
So, never reject a shot the moment you take them. Remember this! Review them afterwards. Try to look for something in each picture. There's always good in it. However, exceptions are always there. So, you can let it go after reviewing it.
I'll tell you how to edit as well starting from Google Snapseed to Adobe Lightroom. I've a plenty of shots to get you started with.
Just stay with me.
So up in next post, I’ll talk more about on composition and tell you about some common tricks and rules to enhance your pictures like the Rule-of-thirds, and common terms like exposure, contrast, ISO and many more non-conventional ways to get the most out of your camera.
So, just bear with me, I’ll get that photographer out of you.
Recommended
