Arduino & Iot - The Interfacing| Esp8266 Wifi Chip

May 09, 2019 • 230 views
So, looking at the series of my blogs you must have learned about - What is Internet of Things (IOT)? , How IOT works?, Trending IOT platforms & How to get a JOB as an IOT Developer?
And today, I will guide you on "How to Interface ARDUINO UNO with IOT using ESP8266 chip module."
Let's start by knowing the list of things required:
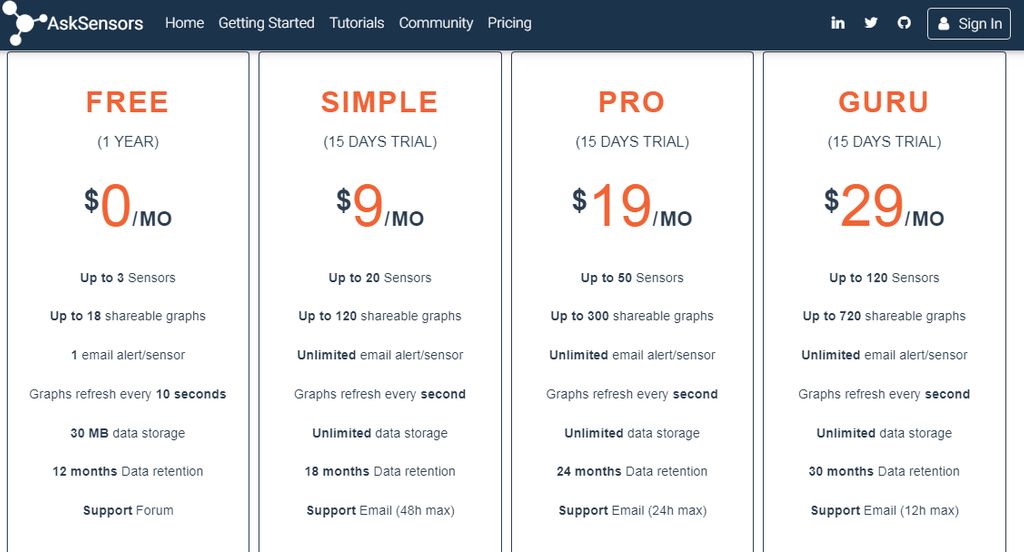
AskSensors IOT Cloud free/trial account.

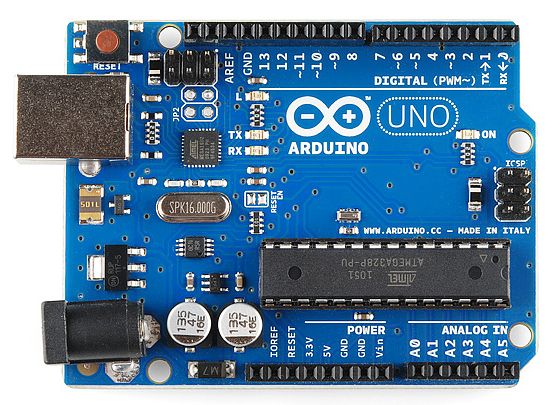
ARDUINO UNO.
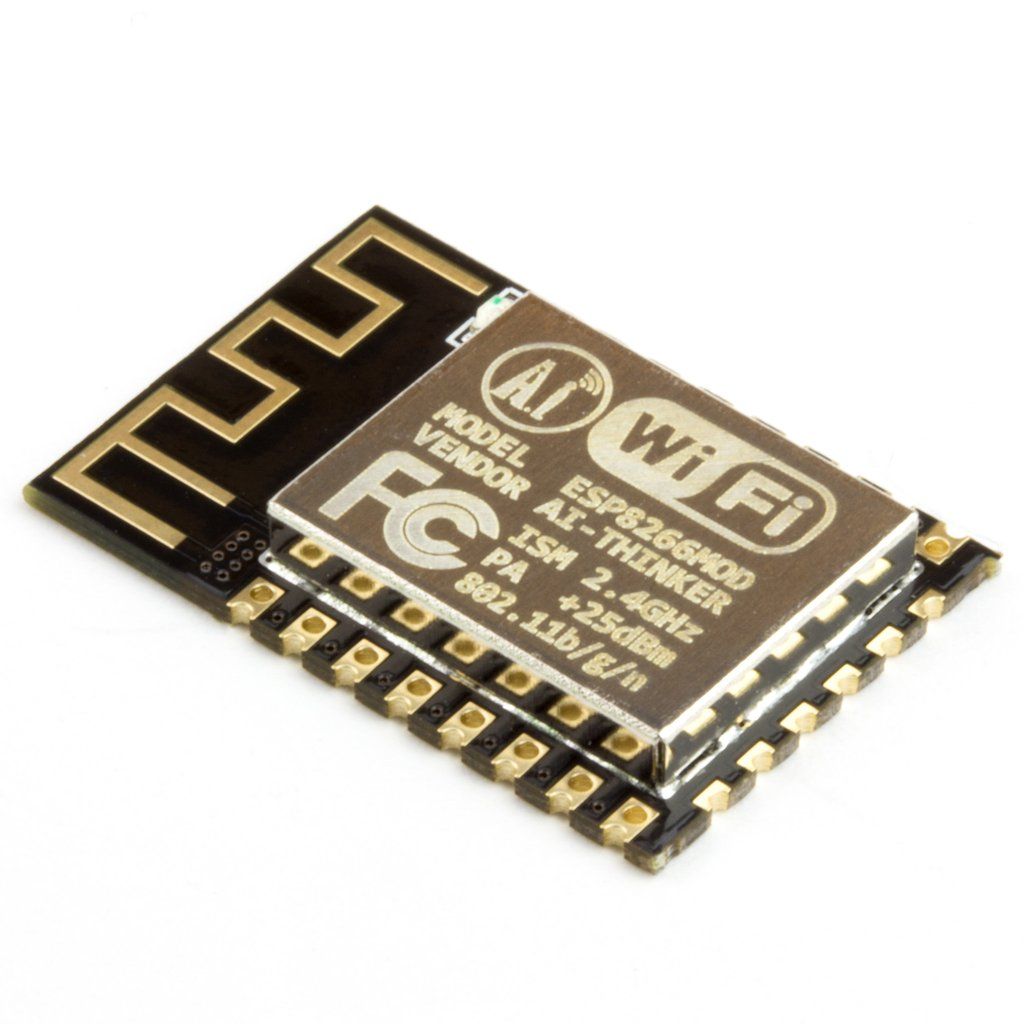
ESP8266.
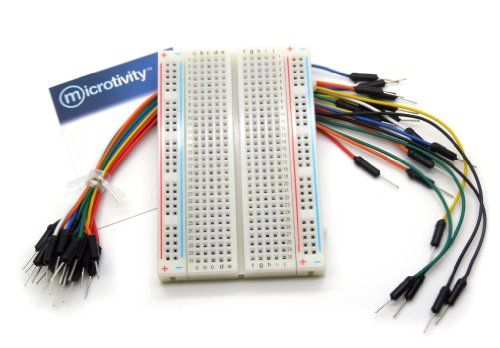
Breadboard & Wires.
AskSensors IOT Cloud Setup
As the first step we have to setup an account on AskSensors IoT platform. AskSensors is an IoT platform which provides communication between internet connected devices and the cloud.
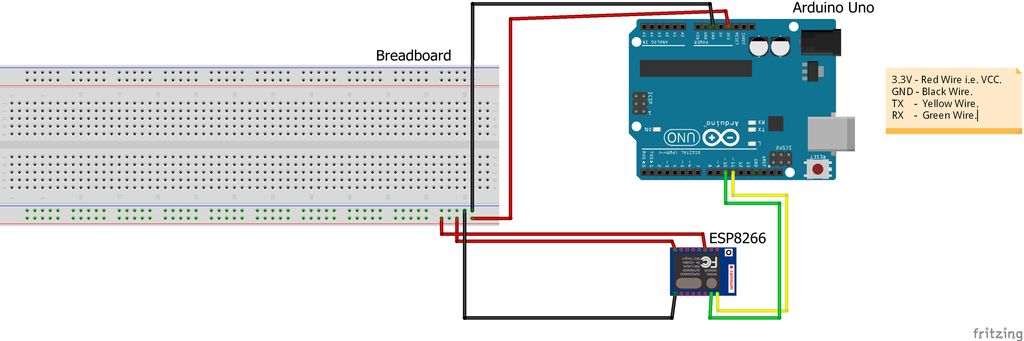
Preparing the Hardware
The connection between Arduino Uno R3 and ESP8266 is as follows:
ESP TX to Arduino pin 10 (you can connect to different pin also)
ESP RX to Arduino pin 11 (you can connect to different pin also)
ESP VCC to Arduino 3.3 V
ESP CH_PD to Arduino 3.3 V
ESP GND to Arduino GND
Writing the Code
Now let’s write the code to send a simple data from the Arduino to the AskSensors cloud through WiFi i.e. ESP8266. The Arduino code will communicate with the ESP8266 WiFi module using AT commands. Data will be sent to AskSensors over HTTP connection.
You will need to provide the 'Api Key In' that you got from AskSensors in order to send Data to the correct Sensor in the cloud.
Code link:
A ready to use verified code is provided in the AskSensors github page. Download the mentioned code and set the following variables to your setup (WiFi SSID, password and the'Api Key In'):
String ssid     = "............."; //Wifi SSID
String password = "............."; //Wifi Password
String apiKeyIn = "............."; // API Key
Running the Code
Now it's time to see the working.
Connect the Arduino Uno board to the PC/Laptop through USB cable.
Open Arduino IDE and Upload the code.
Open the serial terminal. In the serial terminal you can see your Arduino AT commands running with the ESP8266, which makes the connection to WiFi networks and sends data to the AskSensors cloud using HTTP requests.
Visualizing the Data
Data can be visualized using a graph. Go to the AskSensors cloud account and open the sensor that you are sending data to. AskSensors allows user to visualize your data in different type of graphs including Line, Gauge, scatter and Bar.
Important Note:
You might need some other useful functionalities which are available such as visualizing data in full graph, live stream, share your graph with external apps and users, export data in CSV files and few more.
Recommended

Janiye Chords - Chor Nikal Ke Bhaga - Yami Gautam & Sunny Kaushal